Sure. I can do that. Three valentines? Piece of cake. So, I sign up. Wednesday, the email comes with my names. "Please have your valentines in the mail by February 5th." Wait. What? Cripes, that's next week.
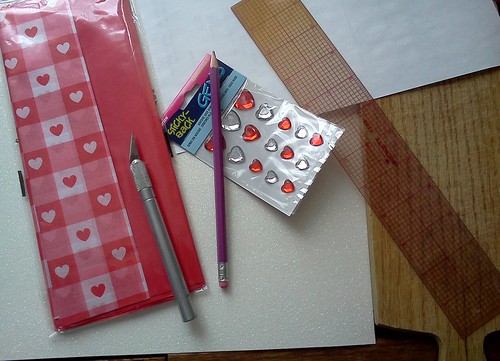
Funny how time poofs and the deadline is here when you vowed you'd get these done at least a week before they were due. Um...yeah. As I was falling asleep on Wednesday night, an idea came to me. "I can do that," I thinks. "I just need some supplies." After the doctor's visit on Thursday, I dashed up to JoAnn Fabrics for supplies. Saturday was the major craft day with this morning, the finishing day. Here's what I did.
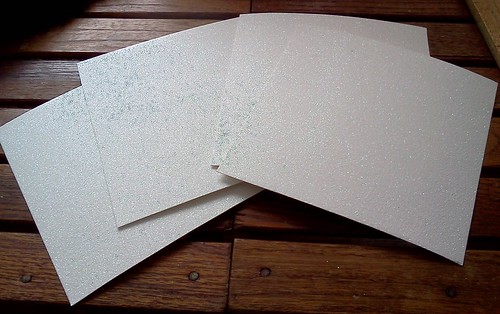
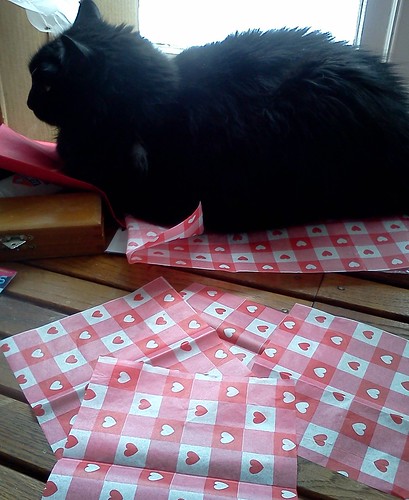
I bought heavy card stock in a creamy white and covered with glitter. I've been brushing minute pieces of glitter off my clothes since yesterday, but it looks really neat. The 12 x 12 piece of stock was cut into four pieces.
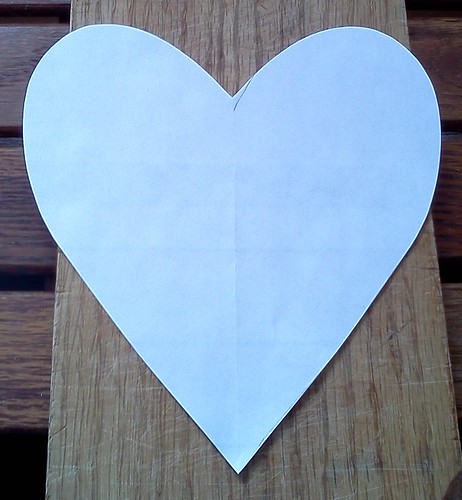
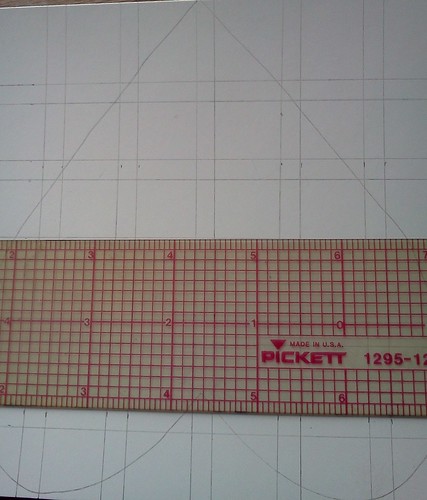
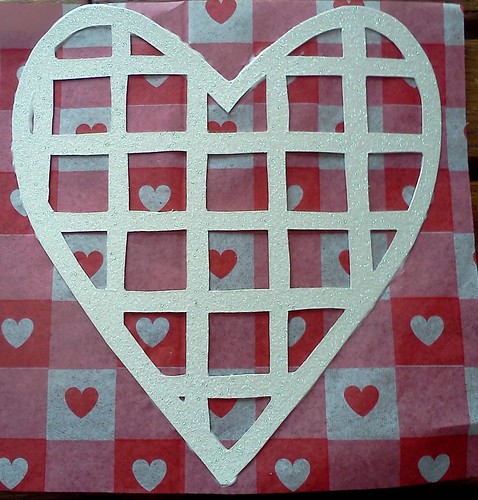
Now, you're going to make a grid on the back side of the heart. I measured and marked off every inch across the heart in both directions, left to right and top to bottom. Then, I measured one quarter inch (1/4") off the original mark. It's, ultimately, going to look like a lattice when you're done. You can measure square, as I did, or change the measurement with left to right or top to bottom.
Then, take an Exacto knife or other sharp cutting tool and cut out the shapes following your grid pattern. I do NOT recommend using a scissors. You won't get clean lines and if you're using heavy duty card stock, as I did, the scissors won't poke through without a lot of force. Slowly cut out the squares and oddball shapes.
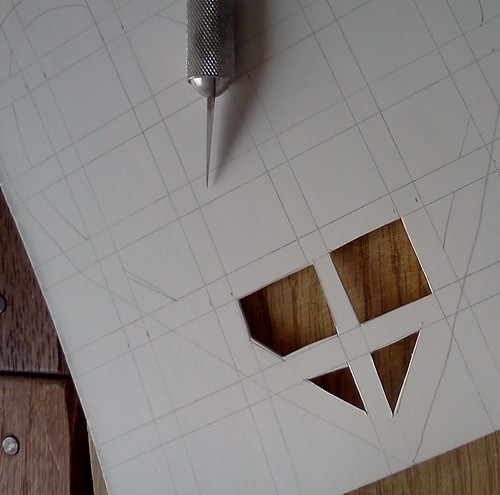
Eventually, with the last card, I wised up and cut all the lines in one direction and then rotated the card to cut all the lines in another direction. Then, it was like poking out paper dolls from my youth, quite fun actually. The amount of force I needed to use to cut through the stock was a bit hard on my hand and made it ache so I'm glad I didn't decide that everyone on my list was getting a hand made card. It's a great idea but not so practical unless I start now for next year.
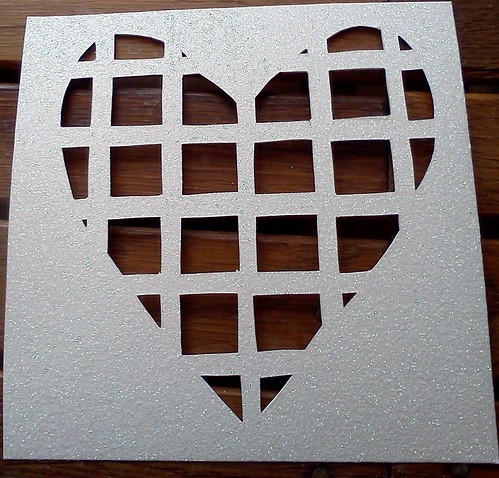
When you're done, you'll have something that looks like this. This was cool in and of itself. I almost stopped there, but it wasn't what I had in mind.

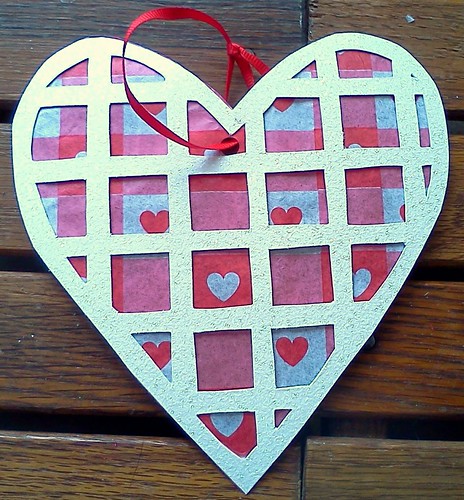
Once you get the hearts glued to the tissue, you need to let this dry, preferably overnight. In the morning, cut the tissue away from the heart. I just used a scissors to cut around the shape.
When that is done, take a piece of clear tape and apply it to the area below the top point, where the round sides of the heart meet in the middle. Take a hole punch and punch the tissue through the tape and tissue. Measure a piece of grosgrain ribbon, thread through the hole and tie in a knot.

Supply list:
- One piece heavy card stock
- One package tissue paper
- Scrap paper to draw template
- Ruler
- Pencil
- Exacto knife or other sharp cutting implement
- Glue
- Hole punch
- Tape
- Ribbon
Beverage: Darjeeling tea
Deb
That's really very cute! I had so much fun with this swap - hope to participate again next year.
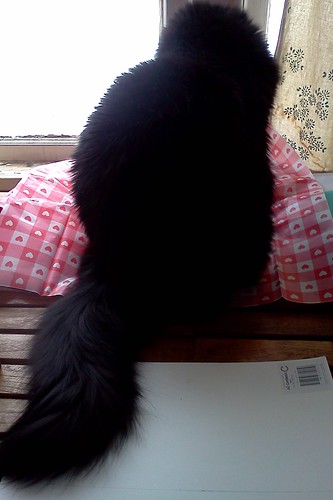
ReplyDeleteWhat is it with cats and craftiness? My younger cat was having a fit when my roommate and I were making our valentines. She loves to steal bottle caps and my roommate was using some to make one of her cards. Kalli went insane. There was a lot of "Seriously? No! NO!"